What’s Pi-hole?
Pi-hole ↗ is an all-in-one network solution for blocking ads. By sitting as a middle-man between your router and devices it can accept all traffic as a gateway that decides what domains are allowed.

The 4 pillars of Pi-hole
📡 Network Wide Protection
Instead of installing browser extensions or blockers for each individual device, you can let your Pi-hole have complete governance over your network. Therefore all of the devices connected to this network will be protected without the need of installing any additional software!
🚫 Block in-app ads
Sometimes tech companies get smart and put ads in unconventional places, like mobile apps and Smart TVs. In some cases, like a TV, installing a local ad-blocker is not even an opportunity. Yet again, Pi-hole comes to the rescue regardless of hardware or OS.
⚡️ Improve network latency
Since Pi-hole can block the HTTP query at a DNS level, filthy javascript trackers won’t even reach your browser. This results in less packets and bandwidth usage. It might not be immediately noticeable, but significant in the long run.
🤓 Monitors stats
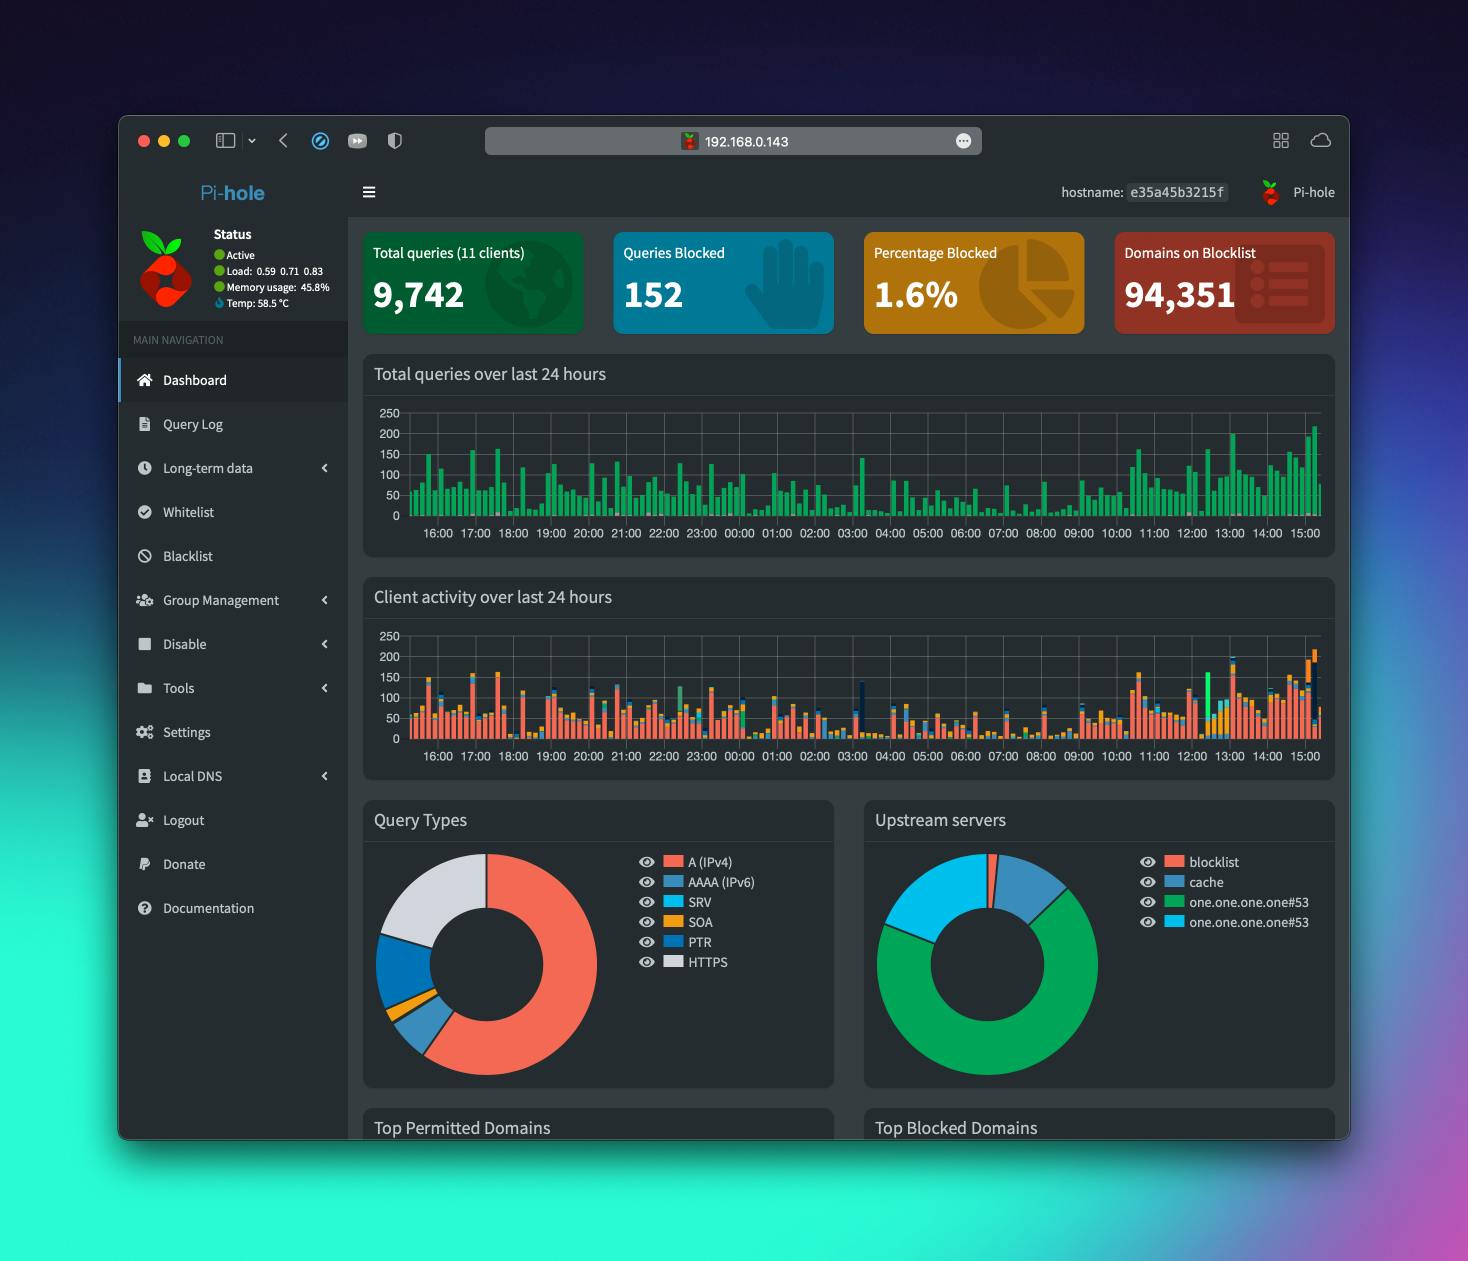
For all the “nerds” out there, Pi-hole comes with a full-fledged and battle-tested dashboard. It acts as a hub to monitor network traffic, permitted/blocked domains, clients, etc.
Getting Started
Pi-hole officially supports a variety of linux distributions ↗, but by leveraging docker ↗ and docker-compose ↗ we are going to automate installation & configuration for any platform.
Note: For a one step automated install and manual configuration you can check out the official guide ↗.
Docker
Let’s start by creating a docker-compose.yml file that will take care of the configuration. Luckily the vibrant community from Pi-hole already has us covered with a docker image ↗ ready for distribution.
version: "3"

services:
  pihole:
    container_name: pihole
    image: pihole/pihole:latest
    ports:
      - "53:53/tcp"
      - "53:53/udp"
      - "67:67/udp"
      - "80:80/tcp"
environment:
      TZ: "America/Los_Angeles"
      WEBTHEME: "default-dark"
      PIHOLE_DNS_: "1.1.1.1;1.0.0.1"
      FTLCONF_REPLY_ADDR4: "192.168.0.143"
      WEBPASSWORD: "${WEBPASSWORD}"
    # Volumes store your data between container upgrades
    volumes:
      - "./etc-pihole/:/etc/pihole/"
      - "./etc-dnsmasq.d/:/etc/dnsmasq.d/"
    # Recommended but not required (DHCP needs NET_ADMIN)
    # https://github.com/pi-hole/docker-pi-hole#note-on-capabilities
    cap_add:
      - NET_ADMIN
    restart: unless-stopped
Most of the things are boilerplate, setting a container_name that acts as display name, getting the docker image, and opening the right ports for communication between our container and the host. volumes are used for persisting data across container upgrades.
The environment is one the most important keys that defines our settings. Let’s go over each one:
TZ: set a timezone ↗ to make sure logs are timestamped with your local time.WEBTHEME: set a user interface theme to use, options:"default-dark" | "default-darker" | "default-light"PIHOLE_DNS_: set a DNS server that’s going to resolve all network queries. The default is Google, but here I’m manually changing it to Cloudfare.FTLCONF_REPLY_ADDR4: set your host’s LAN IPWEBPASSWORD: set a password that allows you to access the dashboard. You can set it directly inline, or through an external.envfile. For doing the latter, create a file named.envin the same directory and add the following line:WEBPASSWORD=helloworld.
The most important properties that are recommended to set are the last two. Everything else is optional, you can read more about it on their github ↗.
Installation
Beforehand, you will need to have installed on your machine docker and docker-compose. Running is as simple as navigating to the directory of your docker-compose.yml and typing docker compose up -d.
Post Install
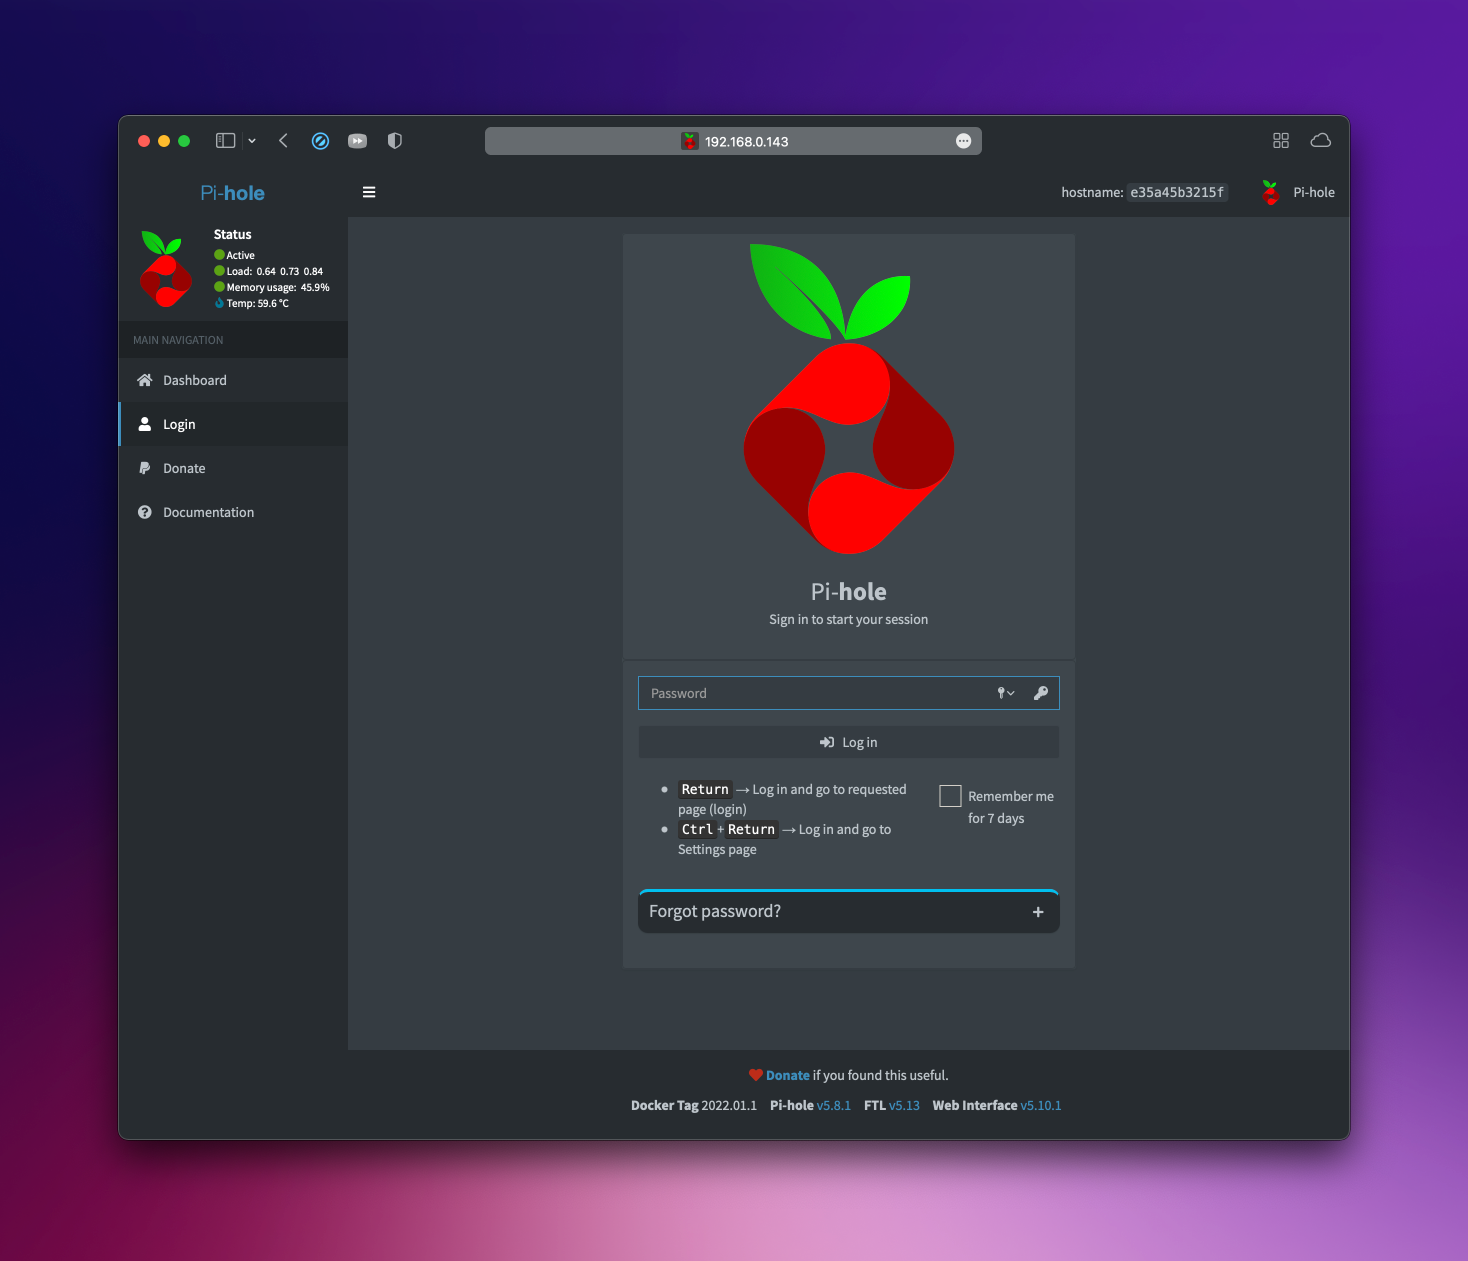
In order to access the dashboard navigate to <FTLCONF_REPLY_ADDR4>/admin. Now that we’ve got our instance of Pi-hole running, the last step is to forward all traffic to it. Unfortunately, this topic is out of scope for this article. The official documentation ↗ extensively covers how to configure your router to have DHCP clients use Pi-hole as their DNS server.
Voilà!
Assuming that you have done your network setup, now you should have a dedicated ad-blocker for your whole household. In the past month since I’ve set this, Pi-hole has blocked 152 queries. This result means that a bit over 1% of my network traffic is made up of advertisement & trackers and has been all blocked automatically by my Pi-hole instance.