

Blur-fade effect
If you are interested in how we created the flower and breathing animation, you can check out the first part ↗ of this tutorial.
To achieve this stunning effect, we are going to split the problem into two parts. We will need to do the following two things:
- Create a mask around the flower view
- Create a blur-fade effect
If you are a bit confused about what we are doing and why, just hold on for a second. It will start to make a lot of sense near the end.
Create a Mask Around the Flower View
You would think that this is relatively easy — just add a .background() modifier to the flower view and call it a day, but…

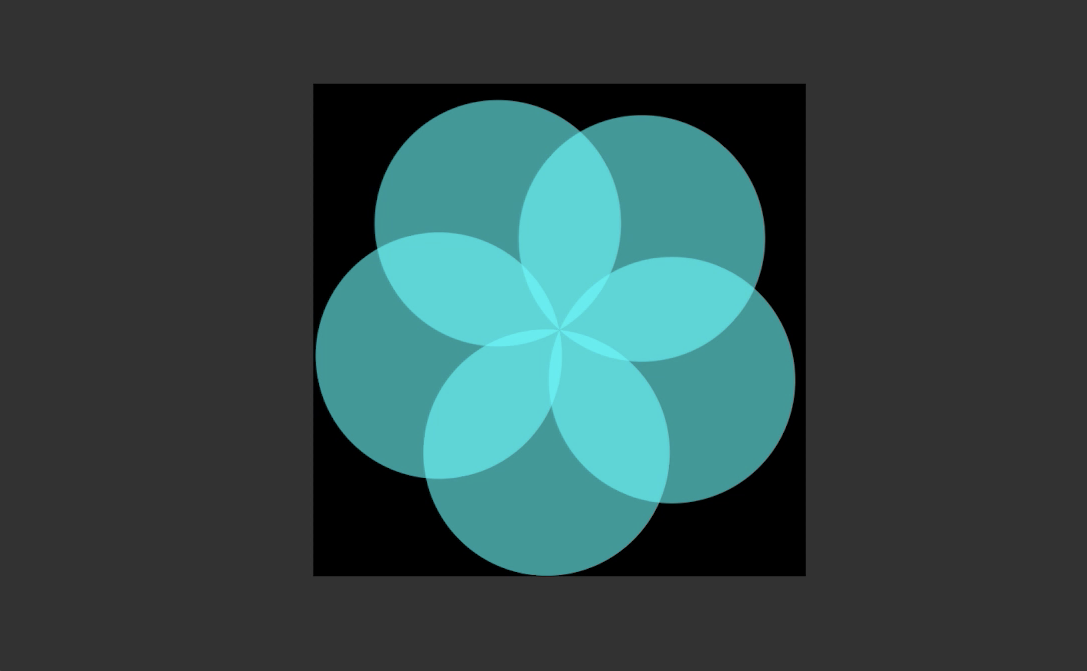
Mask using background modifier
As you can see, this doesn’t quite solve the problem. Because the flower view is composed of multiple circles, the simplest way to create a background for the flower view would be with a whole other flower view that is in sync with the animation.
Let’s implement this by embedding our original FlowerView in a ZStack and add the secondary FlowerView that acts as a background. Make these changes to ContentView.
struct ContentView: View {
  // ...
  var body: some View {
    List {
      // Flower
      Section {
        ZStack {
          // This FlowerView creates a mask around the Main FlowerView
          FlowerView(
            isMinimized: $isMinimized,
            numberOfPetals: $numberOfPetals,
            animationDuration: $animationDuration,
            color: Color(UIColor.black)
          )

          // Main FlowerView
          FlowerView(
            isMinimized: $isMinimized,
            numberOfPetals: $numberOfPetals,
            animationDuration: $animationDuration
          )
        }

        // align the flower nicely
        .frame(maxWidth: .infinity)
        .padding(.vertical, 32)
      }

      // ...
    }
  }
}

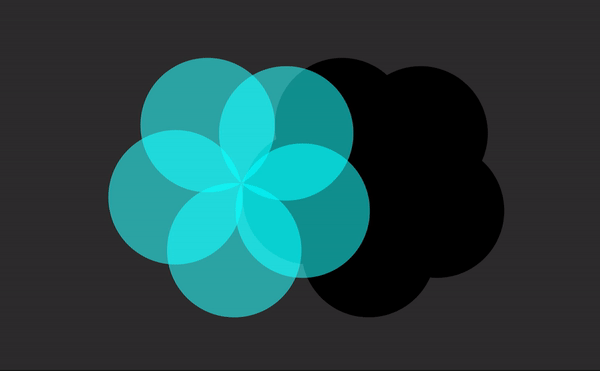
Side by side example
Blur-Fade Effect
If we look closely, the blur-fade animation has three key points:
- Blur effect
- Opacity change from 1 to 0
- Lagging behind compared to the original shrinking animation


BlurFade Effect
It should come as no surprise to you that we are going to achieve this by adding another FlowerView to the ZStack.
This time we are going to hide and show our third FlowerView based on the isMinimized property and create a custom transition modifier that should create the blur-fade effect when shrinking.
Create a new Swift file or add this after ContentView.
extension AnyTransition {
  static var blurFade: AnyTransition {
    get {
      AnyTransition.modifier(
        active: BlurFadeModifier(isActive: true),
        identity: BlurFadeModifier(isActive: false)
      )
    }
  }
}

struct BlurFadeModifier: ViewModifier {
  let isActive: Bool

  func body(content: Content) -> some View {
    content
      .scaleEffect(isActive ? 1.5 : 1) // lagging behind effect
      .blur(radius: isActive ? 8 : 0)
      .opacity(isActive ? 0 : 0.7)
  }
}
Almost done! Now let’s add the final FlowerView. We will also create a fadeDuration property that is based on the breathingAnimation duration.
Note that we are using an asymmetric transition because we don’t want the blur-fade effect both ways.
struct ContentView: View {
  // ...
  /// Duration of the BlurFade transition based on the **breathingAnimation**
  private var fadeDuration: Double {
    return breathDuration * 0.6
  }

  var body: some View {
    List {
      Section {
        // Flower
        ZStack {
          if !isMinimized { // second lil' hack
            FlowerView(
              isMinimized: $isMinimized,
              numberOfPetals: $numberOfPetals,
              animationDuration: $animationDuration
            ).transition(
              AnyTransition.asymmetric(
                insertion: AnyTransition.opacity.animation(Animation.default.delay(animationDuration)),
                removal: AnyTransition.blurFade.animation(Animation.easeIn(duration: fadeDuration))
              )
              /**
                General Observation - use real devices for best results
                Asymmetric Transitions are sometimes buggy, this includes:
                  - animationDuration is not always updated prior to a change
                  - the removal transition is used for an insertion
              */
            )
          }

          // ...
        }

        // align the flower nicely
        .frame(maxWidth: .infinity)
        .padding(.vertical, 32)
      }

      // ...
    }
  }
}


Final product
Conclusion
As you can see, by using simple built-in shapes and animations, we managed to compose a pretty complex animation.
If you are feeling brave enough, now I encourage you to try and make your own animations! PS: Make sure you tweet about it and let me know.
Here’s the GitHub repo ↗ with the complete project.